Meet our Chief Nap Officer
Fifi the French Bulldog
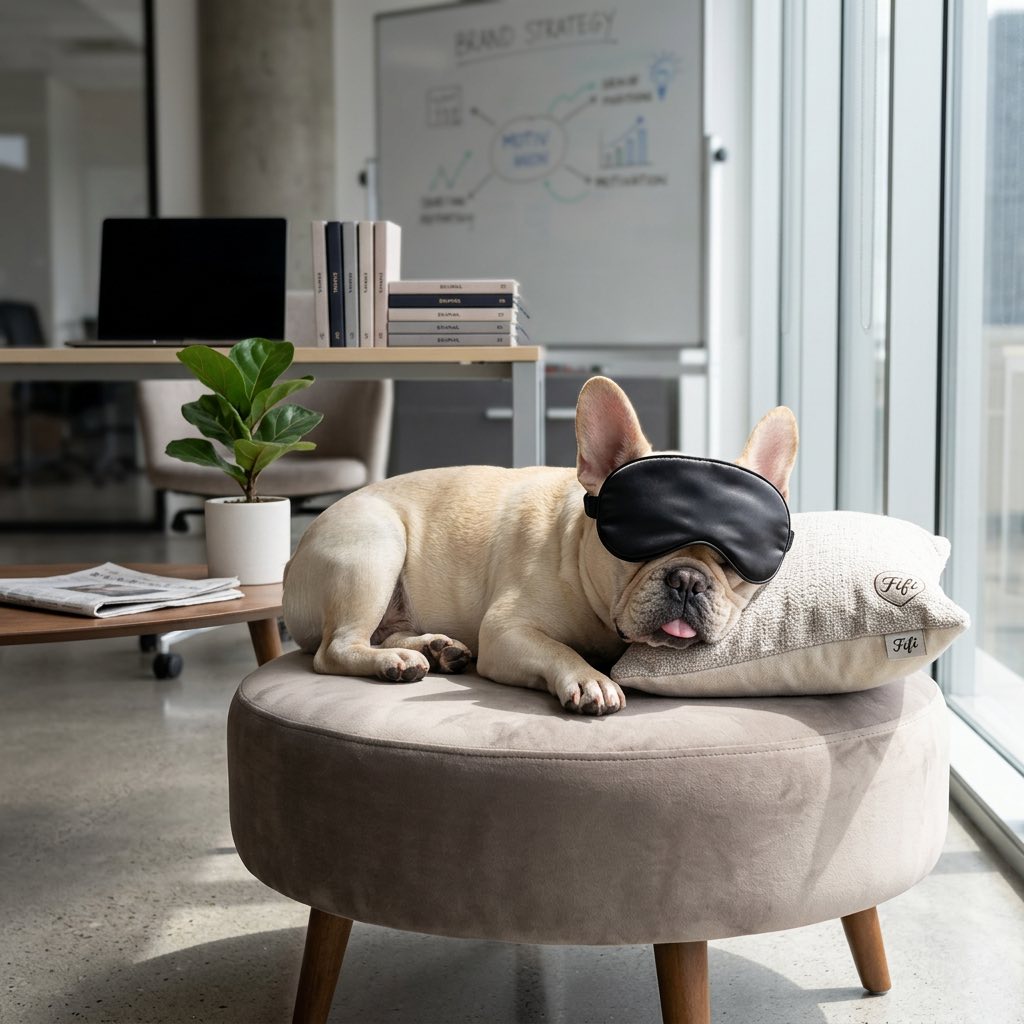
Say hello to Fifi, our company mascot and self-appointed Chief Nap Officer. This pint-sized powerhouse has mastered the art of relaxation and believes every problem can be solved with a good snooze.
Fifi's philosophy is simple: if a bike storage setup doesn't create a cosy, stress-free space worthy of a luxurious nap, it's not good enough. She quality-tests every stand by sleeping near it — if Fifi approves with a snore, you know it's a winner.
When she's not busy dozing, Fifi enjoys ignoring phone calls, professional-level blanket burrowing, and reminding the team that life's too short not to take it easy.
"Keep it tidy, then take a nap."
22Hours daily sleep
100%Cuteness level
∞Snoring decibels
Professional sleeper

Work from bed
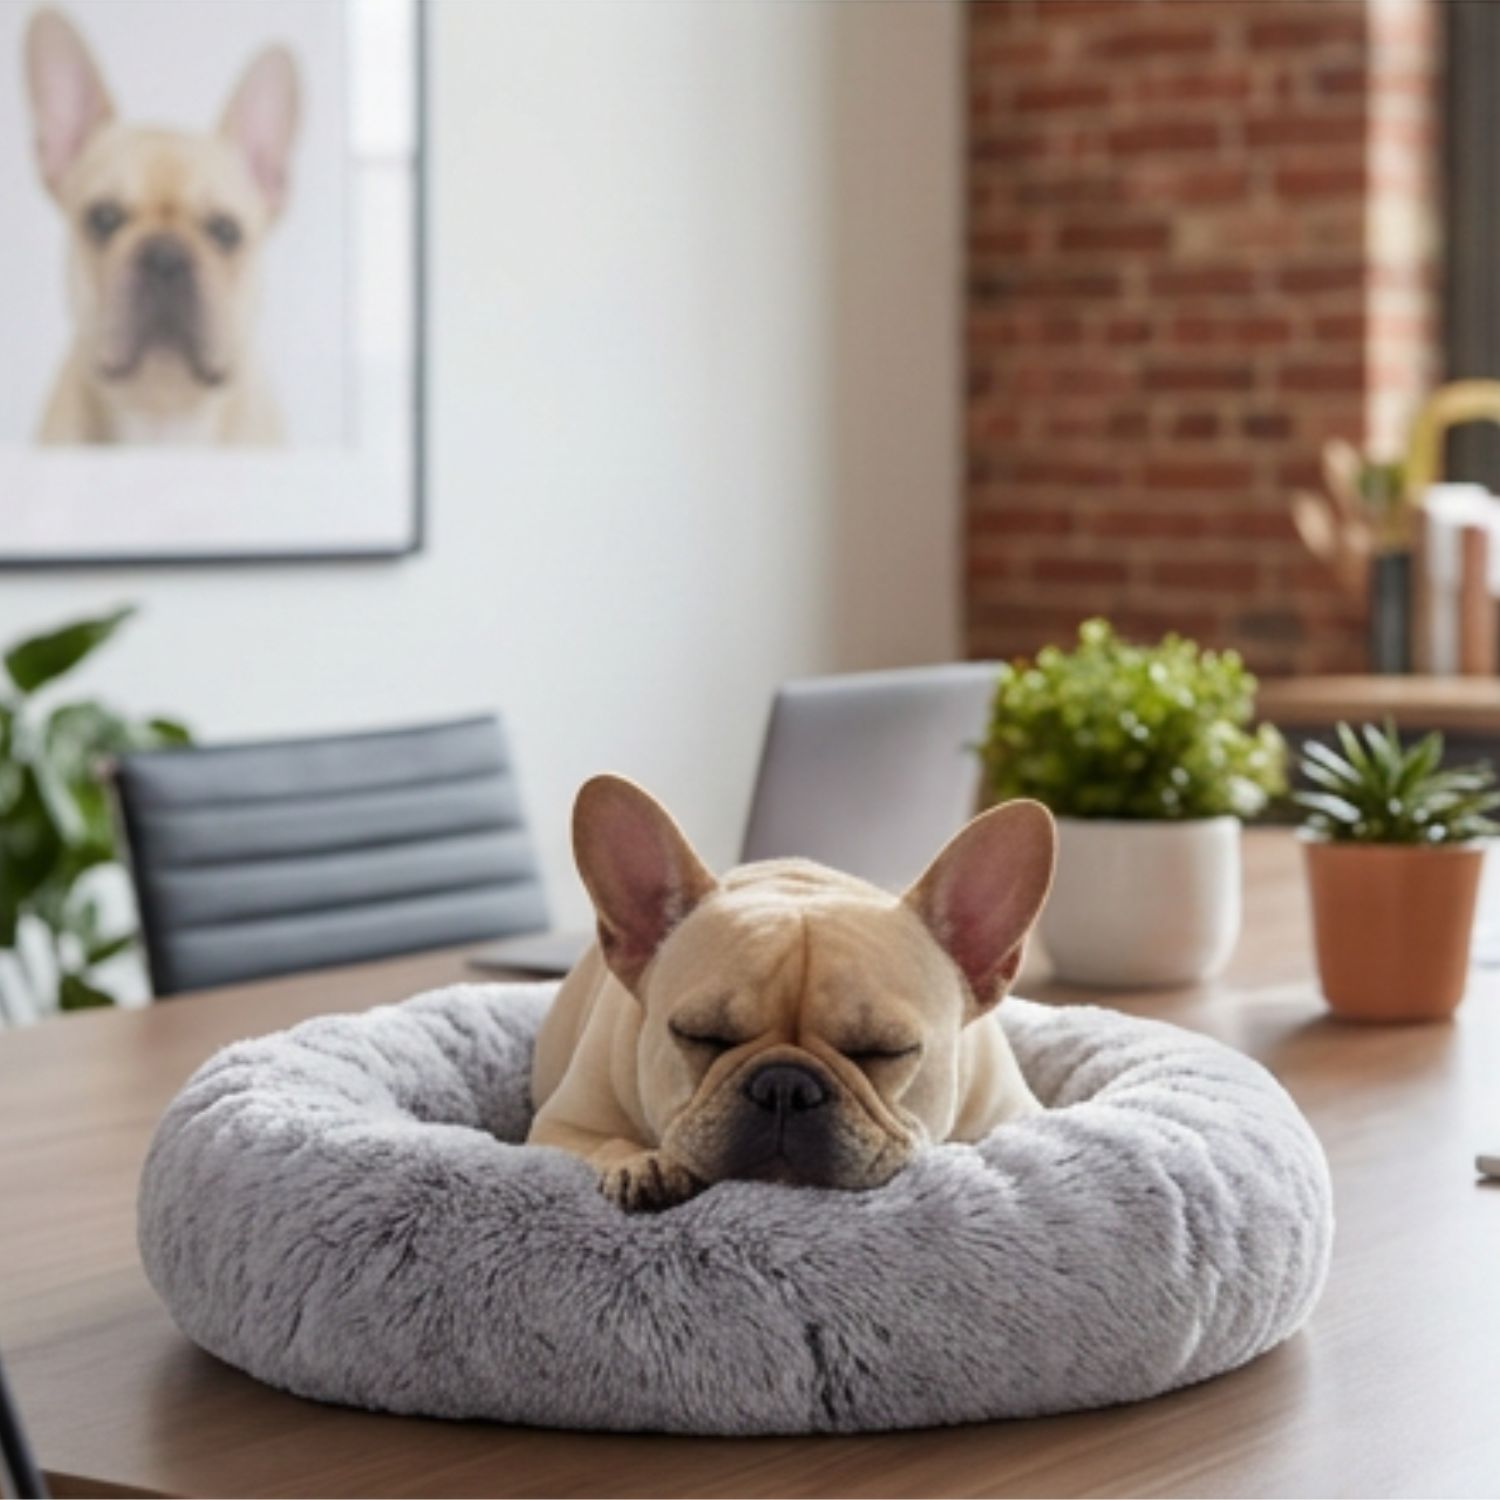
Best life